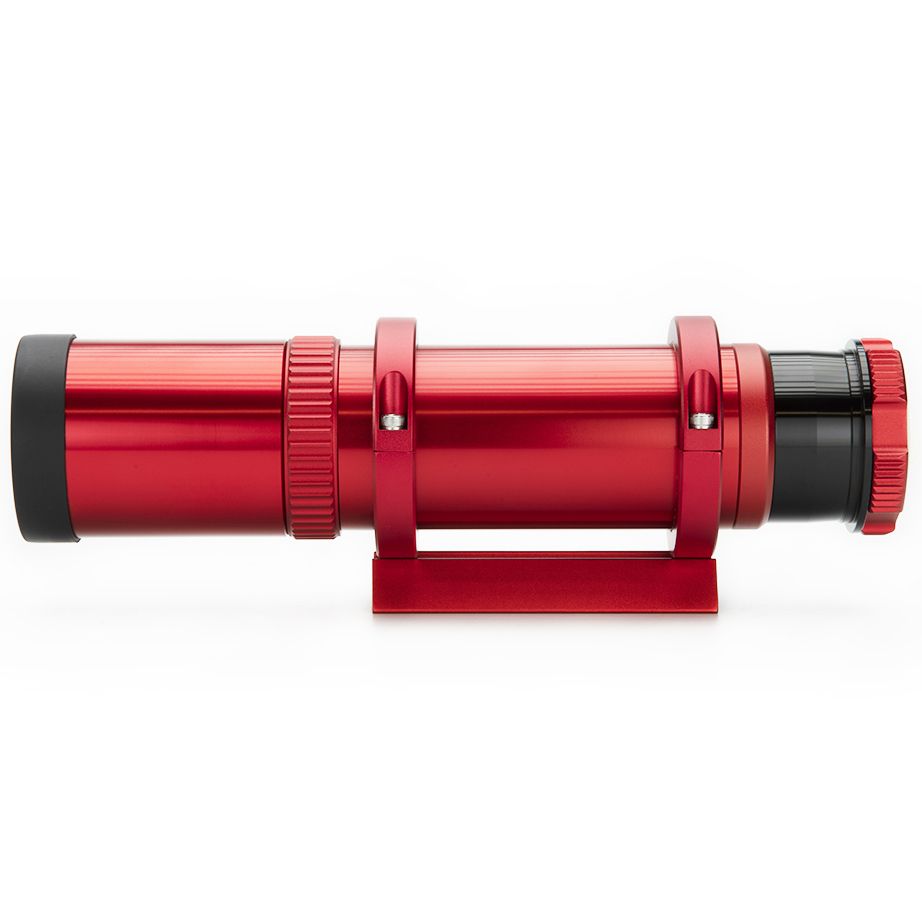
Choosing the right guide scope for your setup
Astrophotography is a fascinating hobby that requires a good understanding of various equipment and techniques to capture stunning images of the night sky. One of the essential pieces of equipment for astrophotography is the guide scope. A guide scope helps in tracking the stars and ensures that the telescope stays on target during long-exposure imaging. Choosing the right guide scope size is crucial for astrophotography, and in this blog post, we will discuss how to choose the right guide scope size for astrophotography.

- Determine Your Imaging System's Focal Length
Before selecting a guide scope, you need to determine the focal length of your imaging system. The focal length is the distance between the objective lens or mirror and the focal point. It determines the size and scale of your image. You can find the focal length of your telescope in the manufacturer's specifications. The focal length is measured in millimeters.
- Calculate the Guide Scope's Focal Length
The next step is to determine the focal length of your guide scope. The guide scope's focal length should be about one-third of the imaging system's focal length. This means that if your imaging system's focal length is 500mm, your guide scope's focal length should be between somewhere around 166mm. The guide scope's focal length determines the magnification and the field of view. A shorter focal length will give you a wider field of view, and a longer focal length will provide a higher magnification - this directly translates to the tracking accuracy, so in doubt always go with more focal length rather than too little.
- Choose the Right Aperture
The aperture of the guide scope determines how much light it can gather and is directly linked to the focal length. A larger aperture allows more light to enter the guide scope, making it easier to see faint guide stars. However, a larger aperture also makes the guide scope heavier and bulkier, making it more challenging to balance your imaging system and adding more weight to the overall setup. A smaller aperture is lighter and more compact, but it may not gather enough light to see guide stars or provide sufficient focal length for accurate guiding.
- Consider the Weight and Balance
Choosing a guide scope that is too heavy or bulky can make it challenging to balance your imaging system. The guide scope should be lightweight and easy to attach to your imaging system. It should also be compatible with your mounting system and allow you to achieve a good balance.
- Choose a High-Quality Guide Scope
Investing in a high-quality guide scope will make a significant difference in the quality of your astrophotography. A high-quality guide scope will have better optics and coatings, which will result in sharper images and better contrast. It will also be more durable and last longer.
In conclusion, choosing the right guide scope size is crucial for astrophotography. It determines the magnification, field of view, and the ease of tracking stars. By considering the focal length, aperture, weight and balance, and the quality of the guide scope, you can select the right guide scope for your astrophotography needs. With the right guide scope, you can capture stunning images of the night sky and explore the wonders of the universe.
